How to fit a VW RCD330 Head Unit into Audi TT
At hand, I have a TT Roadster, and everything is great except for the sound quality of factory head unit, which is really frustrating. You can’t just say that driving with the convertible top down means you have no pursuit of sound quality, right? I happened to replace my old Golf 5 with a domestically made Desay RCD 330 187B head unit, and the audio effect is decent. So, I got the idea of transplanting it into the TT Roadster. After all, even a vintage car should keep up with the times and at least have a sound system and CarPlay that are pleasant to the ears. I thought it should be straightforward since they are products developed for the same platform by the same company. My ideal was full of hope, but the reality turned out to be very harsh.
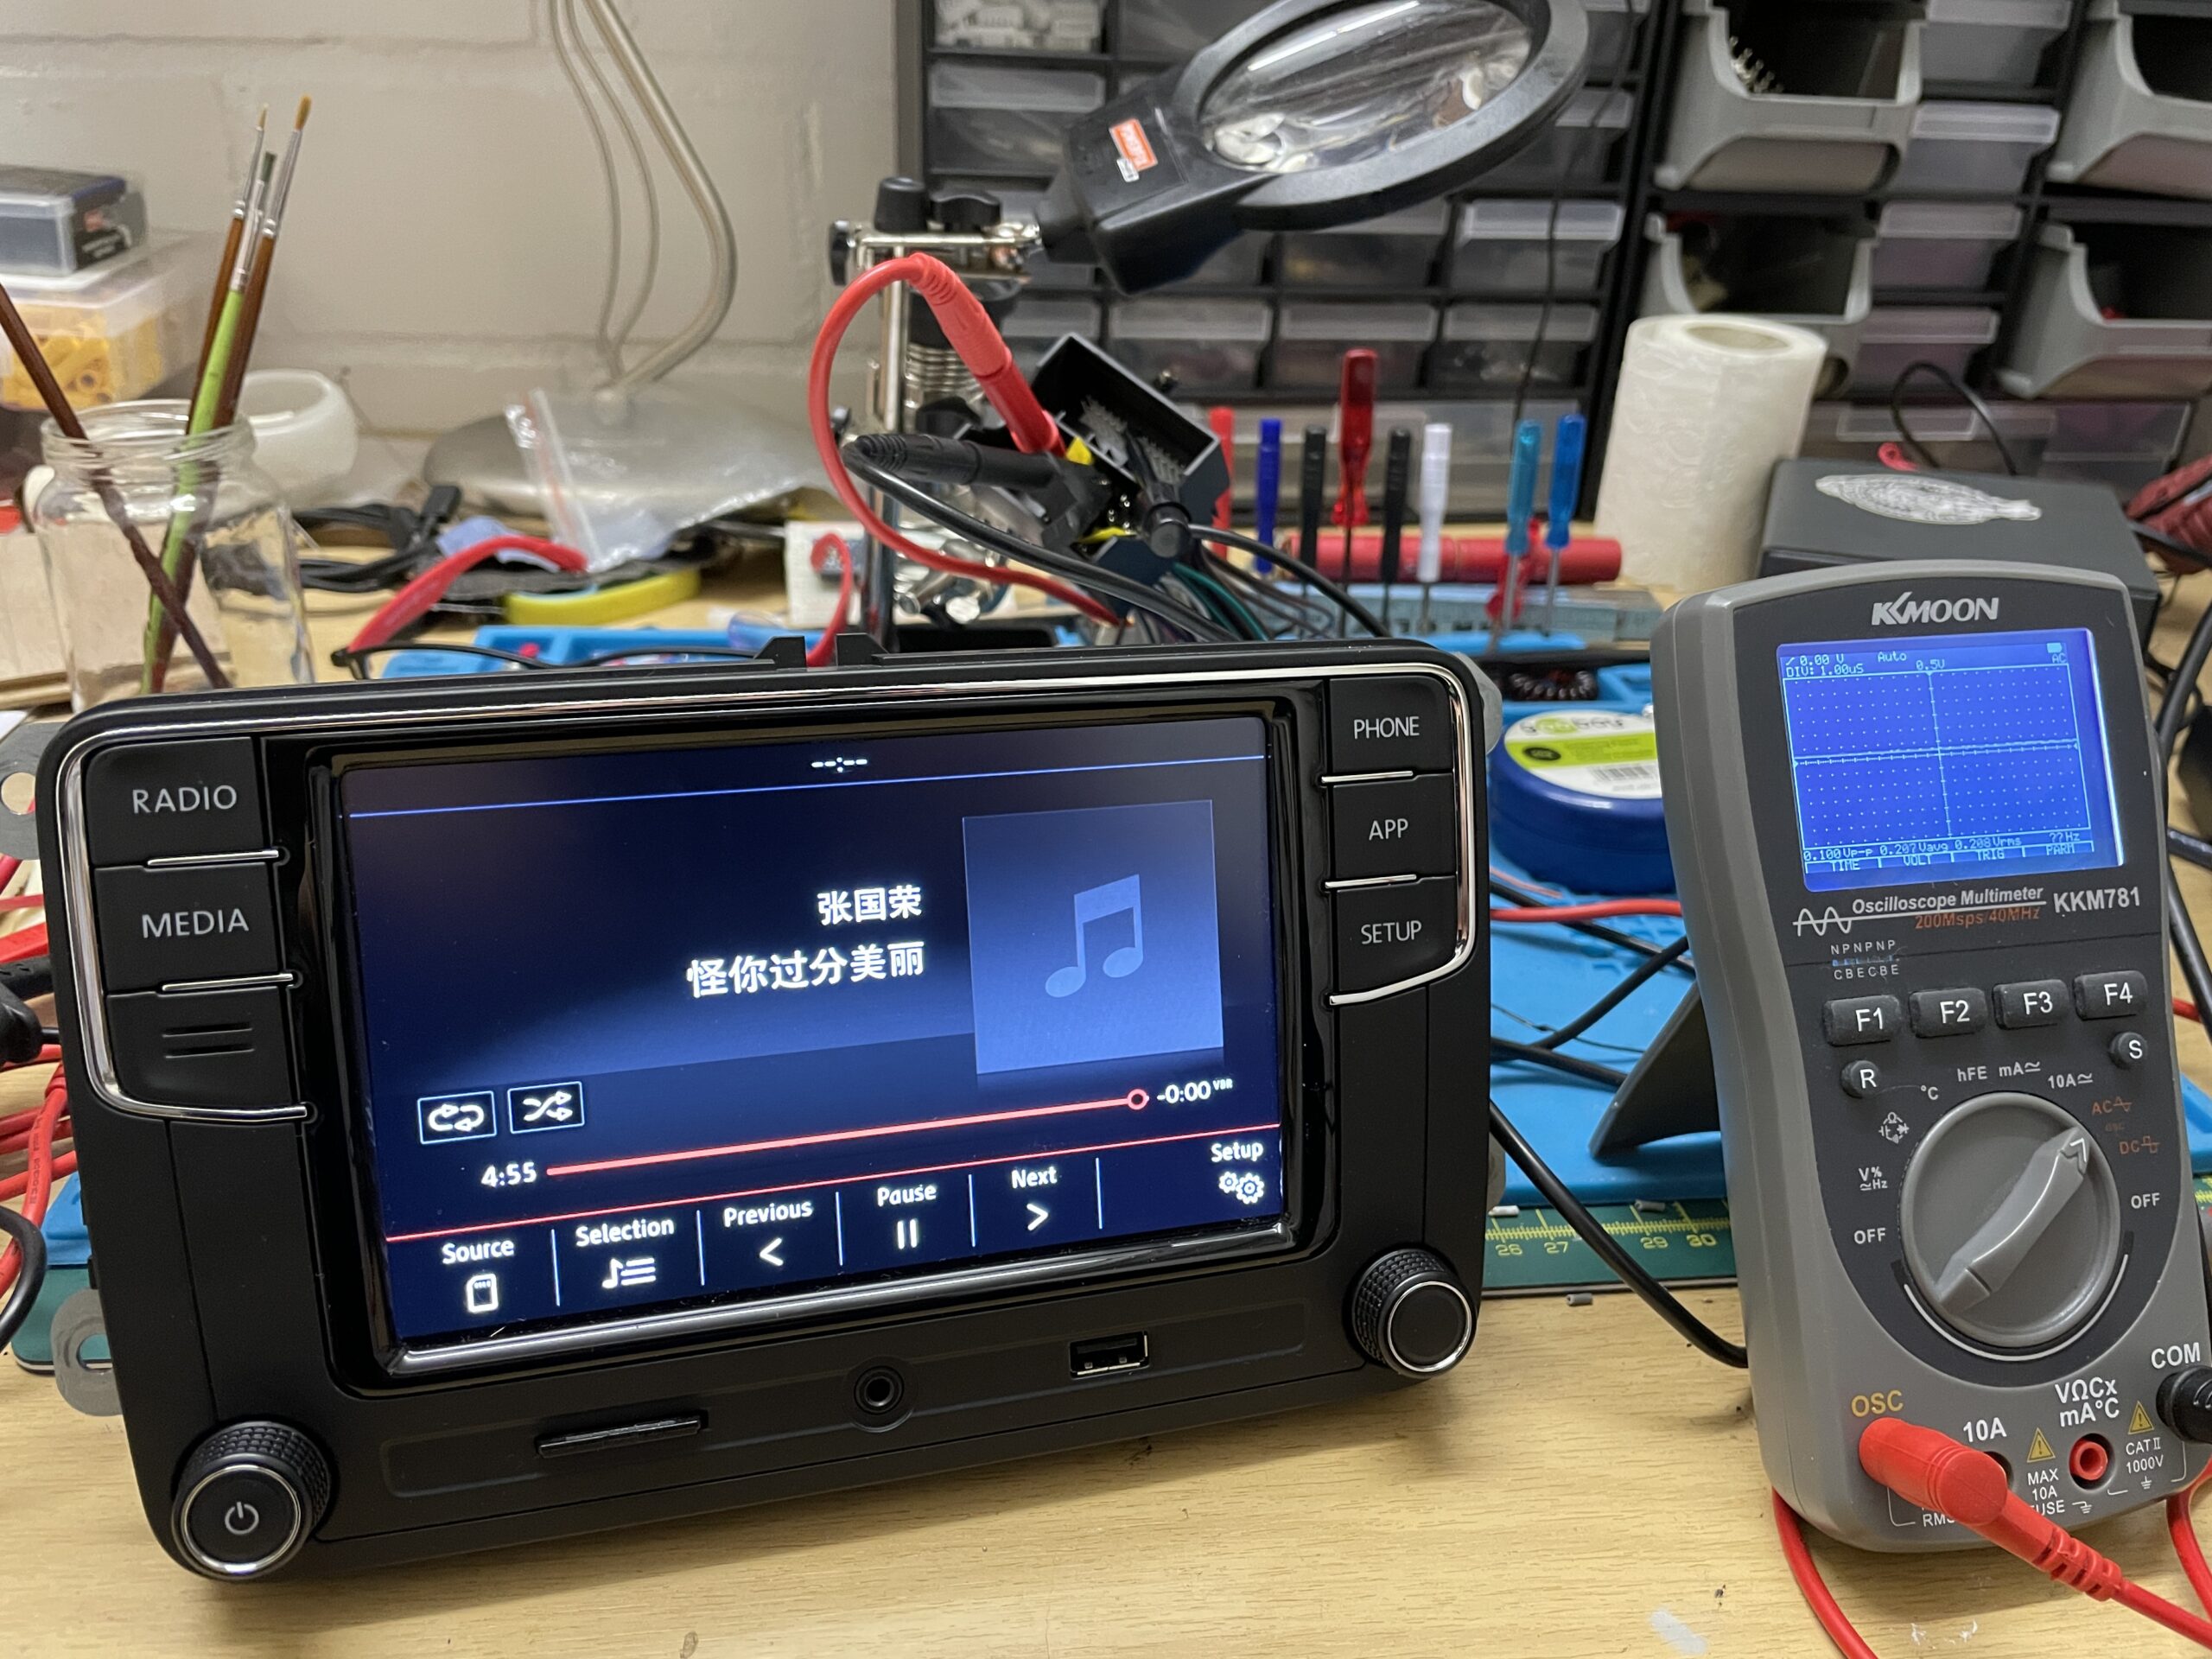
At the beginning, everything went smoothly. The Quadlock 40 Pin interface was standard, and after the replacement, it powered up successfully. The two logos next to each other does not look out of place.
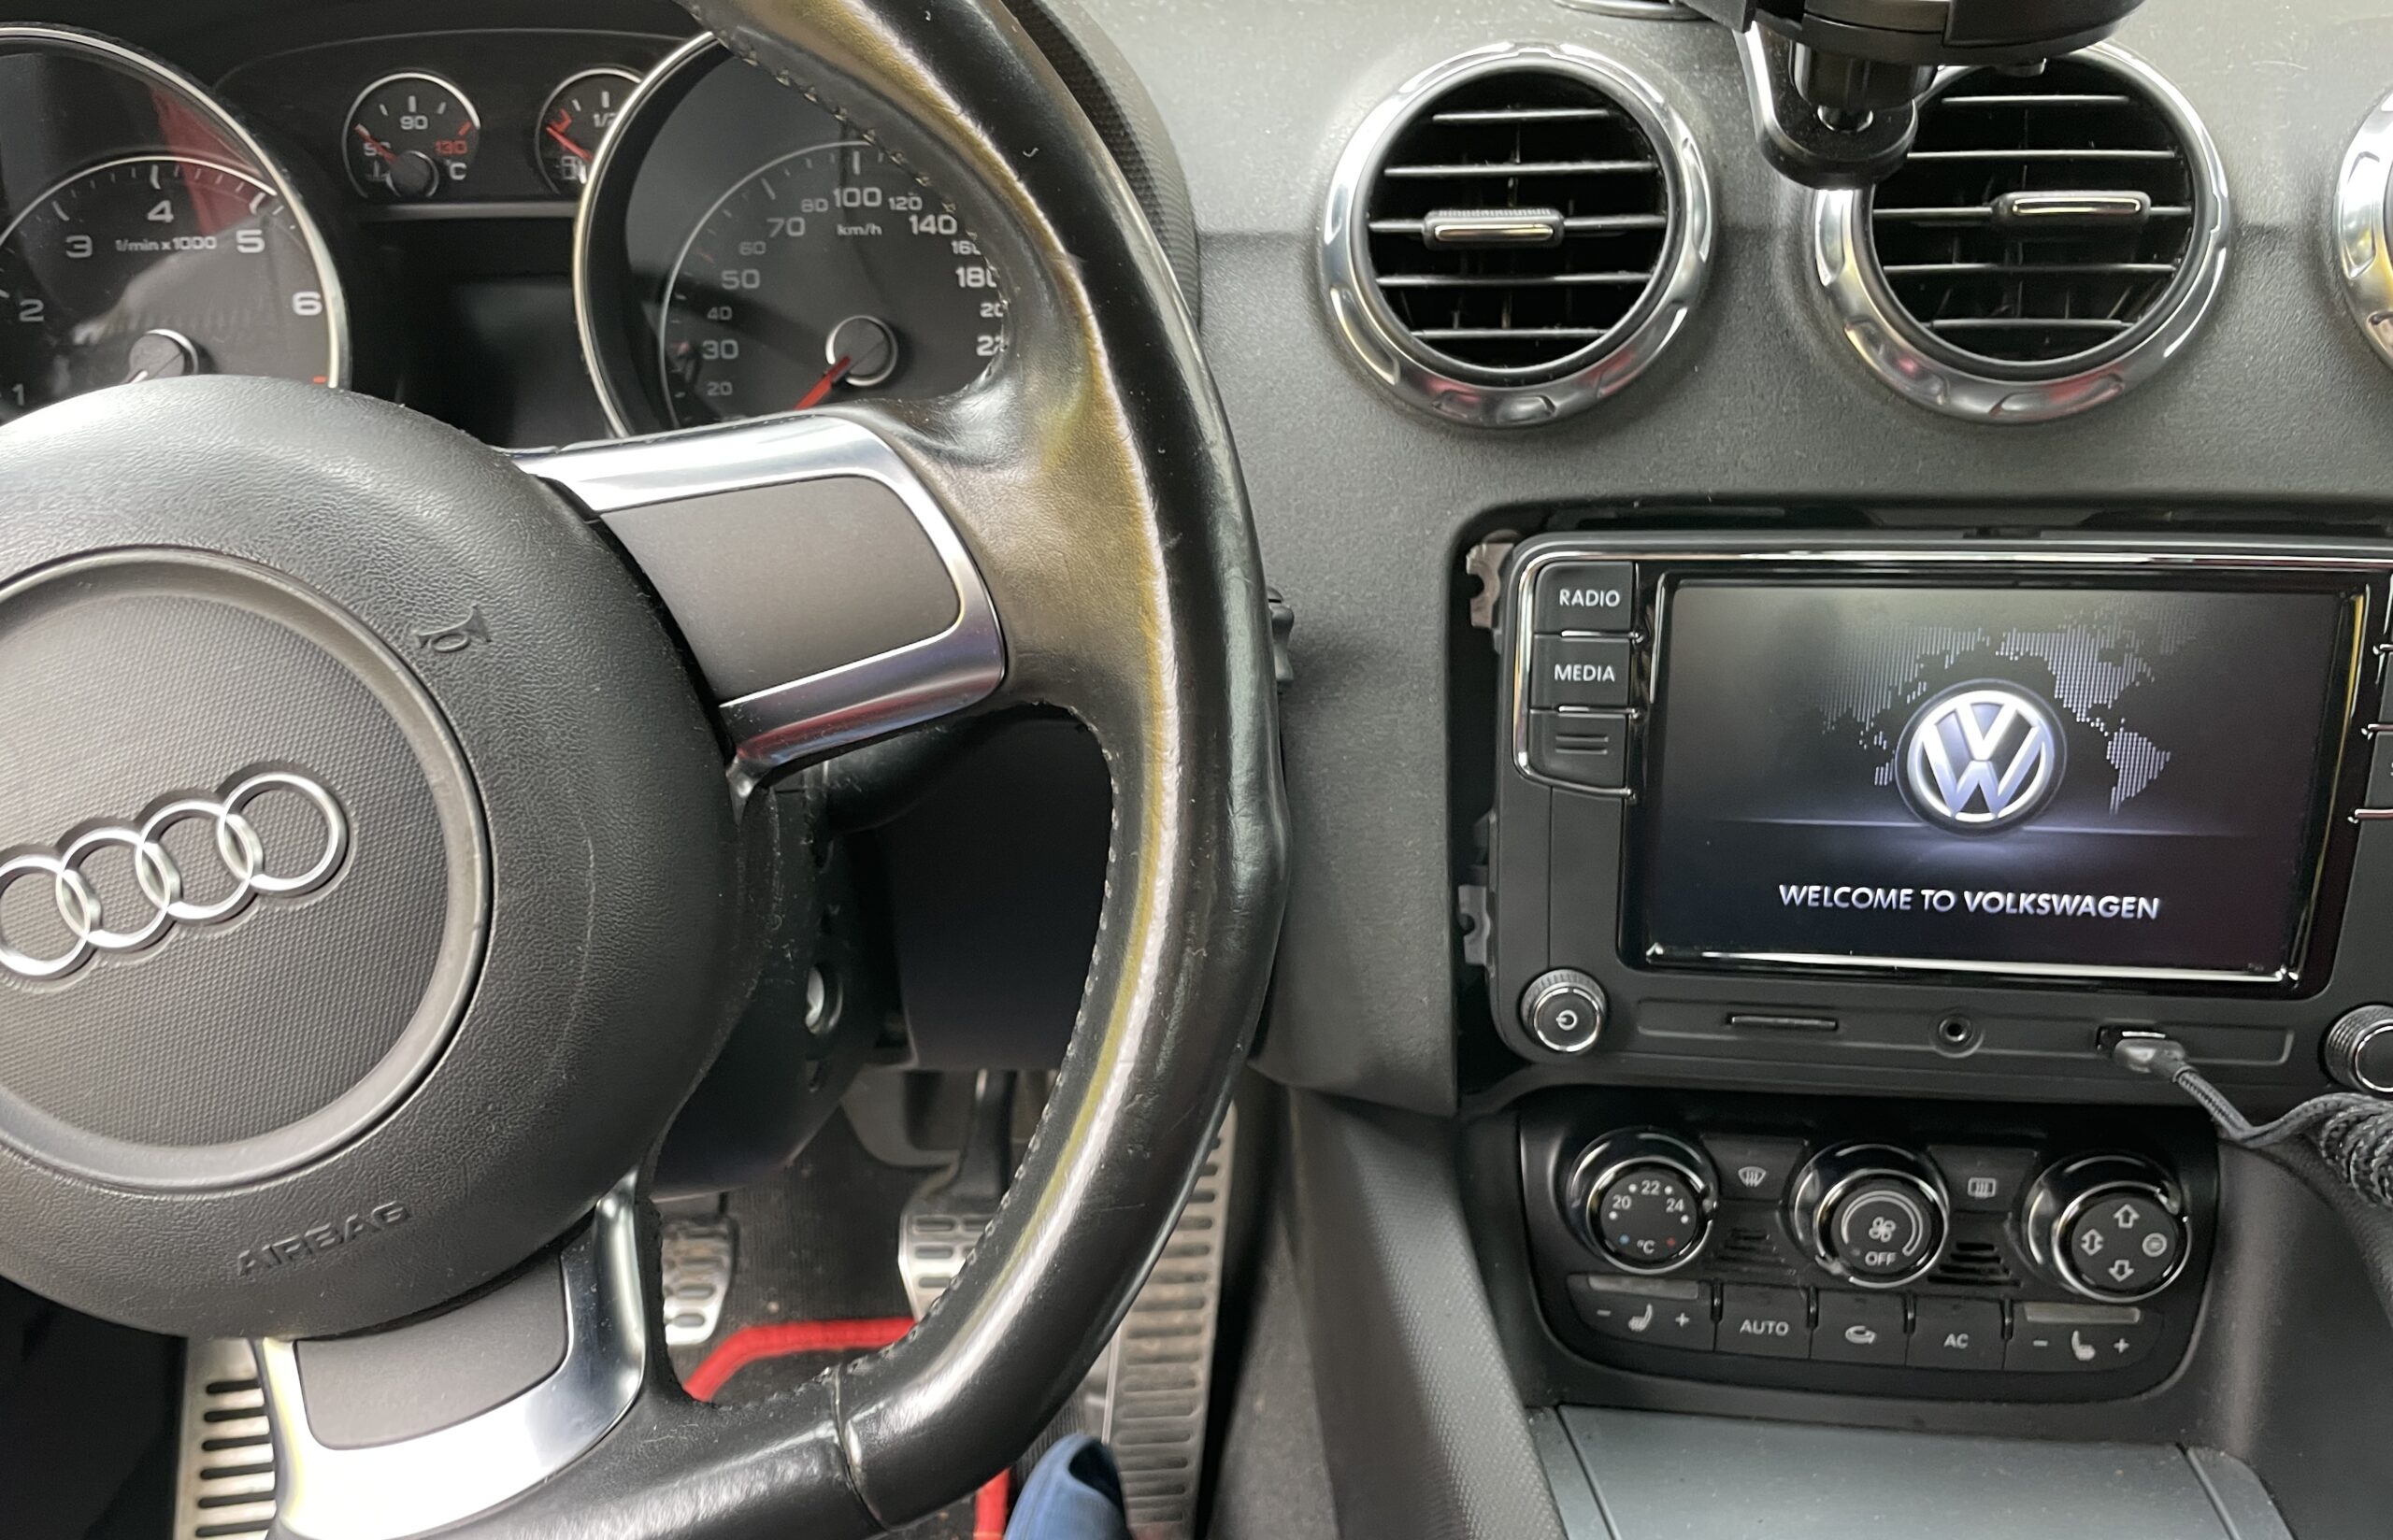
However, the problem arose immediately after – there was no sound at all!! I was immediately overwhelmed by the situation.
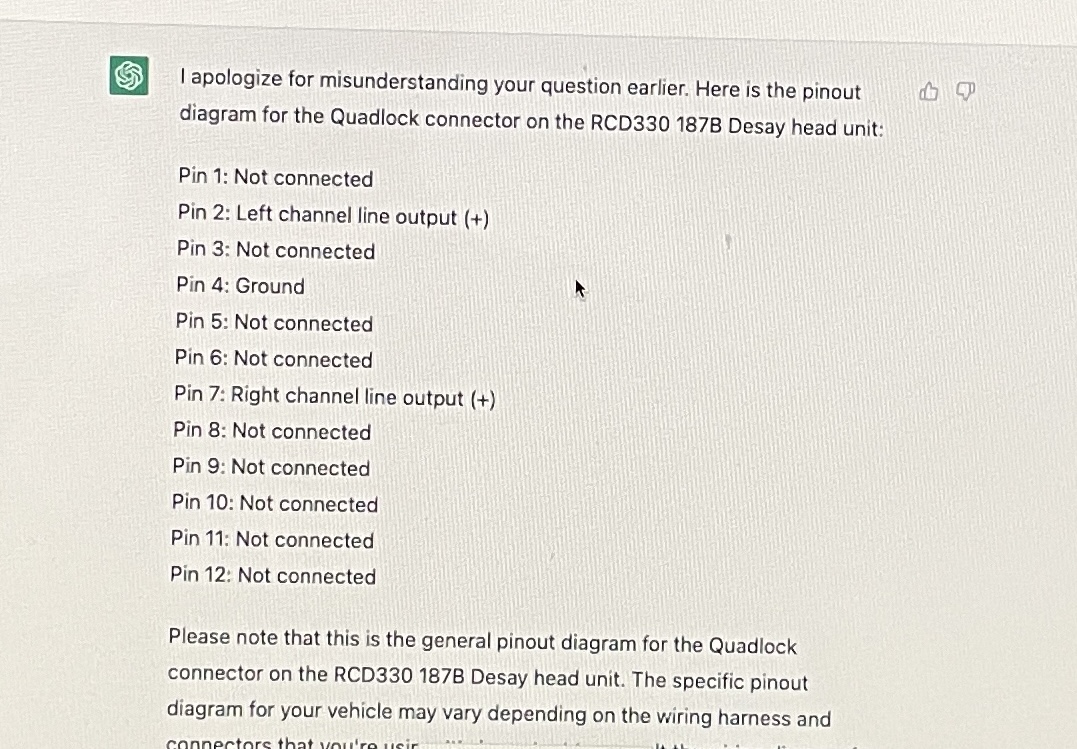
After searching on Google, I found a possible reason – the TT MK2 has a built-in amplifier, so it’s likely that the speakers are not connected to Block A pin on the Quadlock connector, but rather through a Line output. But how should I connect it then? In this day and age, when faced with uncertainty, I sought help from AI. I had a chat with GPT, and it provided me with this information.
After various searches on Google, it appeared that the TT MK2 indeed has a built-in amplifier, so it is highly possible that the speakers are not connected to Block A pin on the Quadlock connector, but rather through a Line output. But how should I make the connection? In this day and age, when faced with uncertainty, I sought help from AI. After a chat with GPT, it gave me this advice.
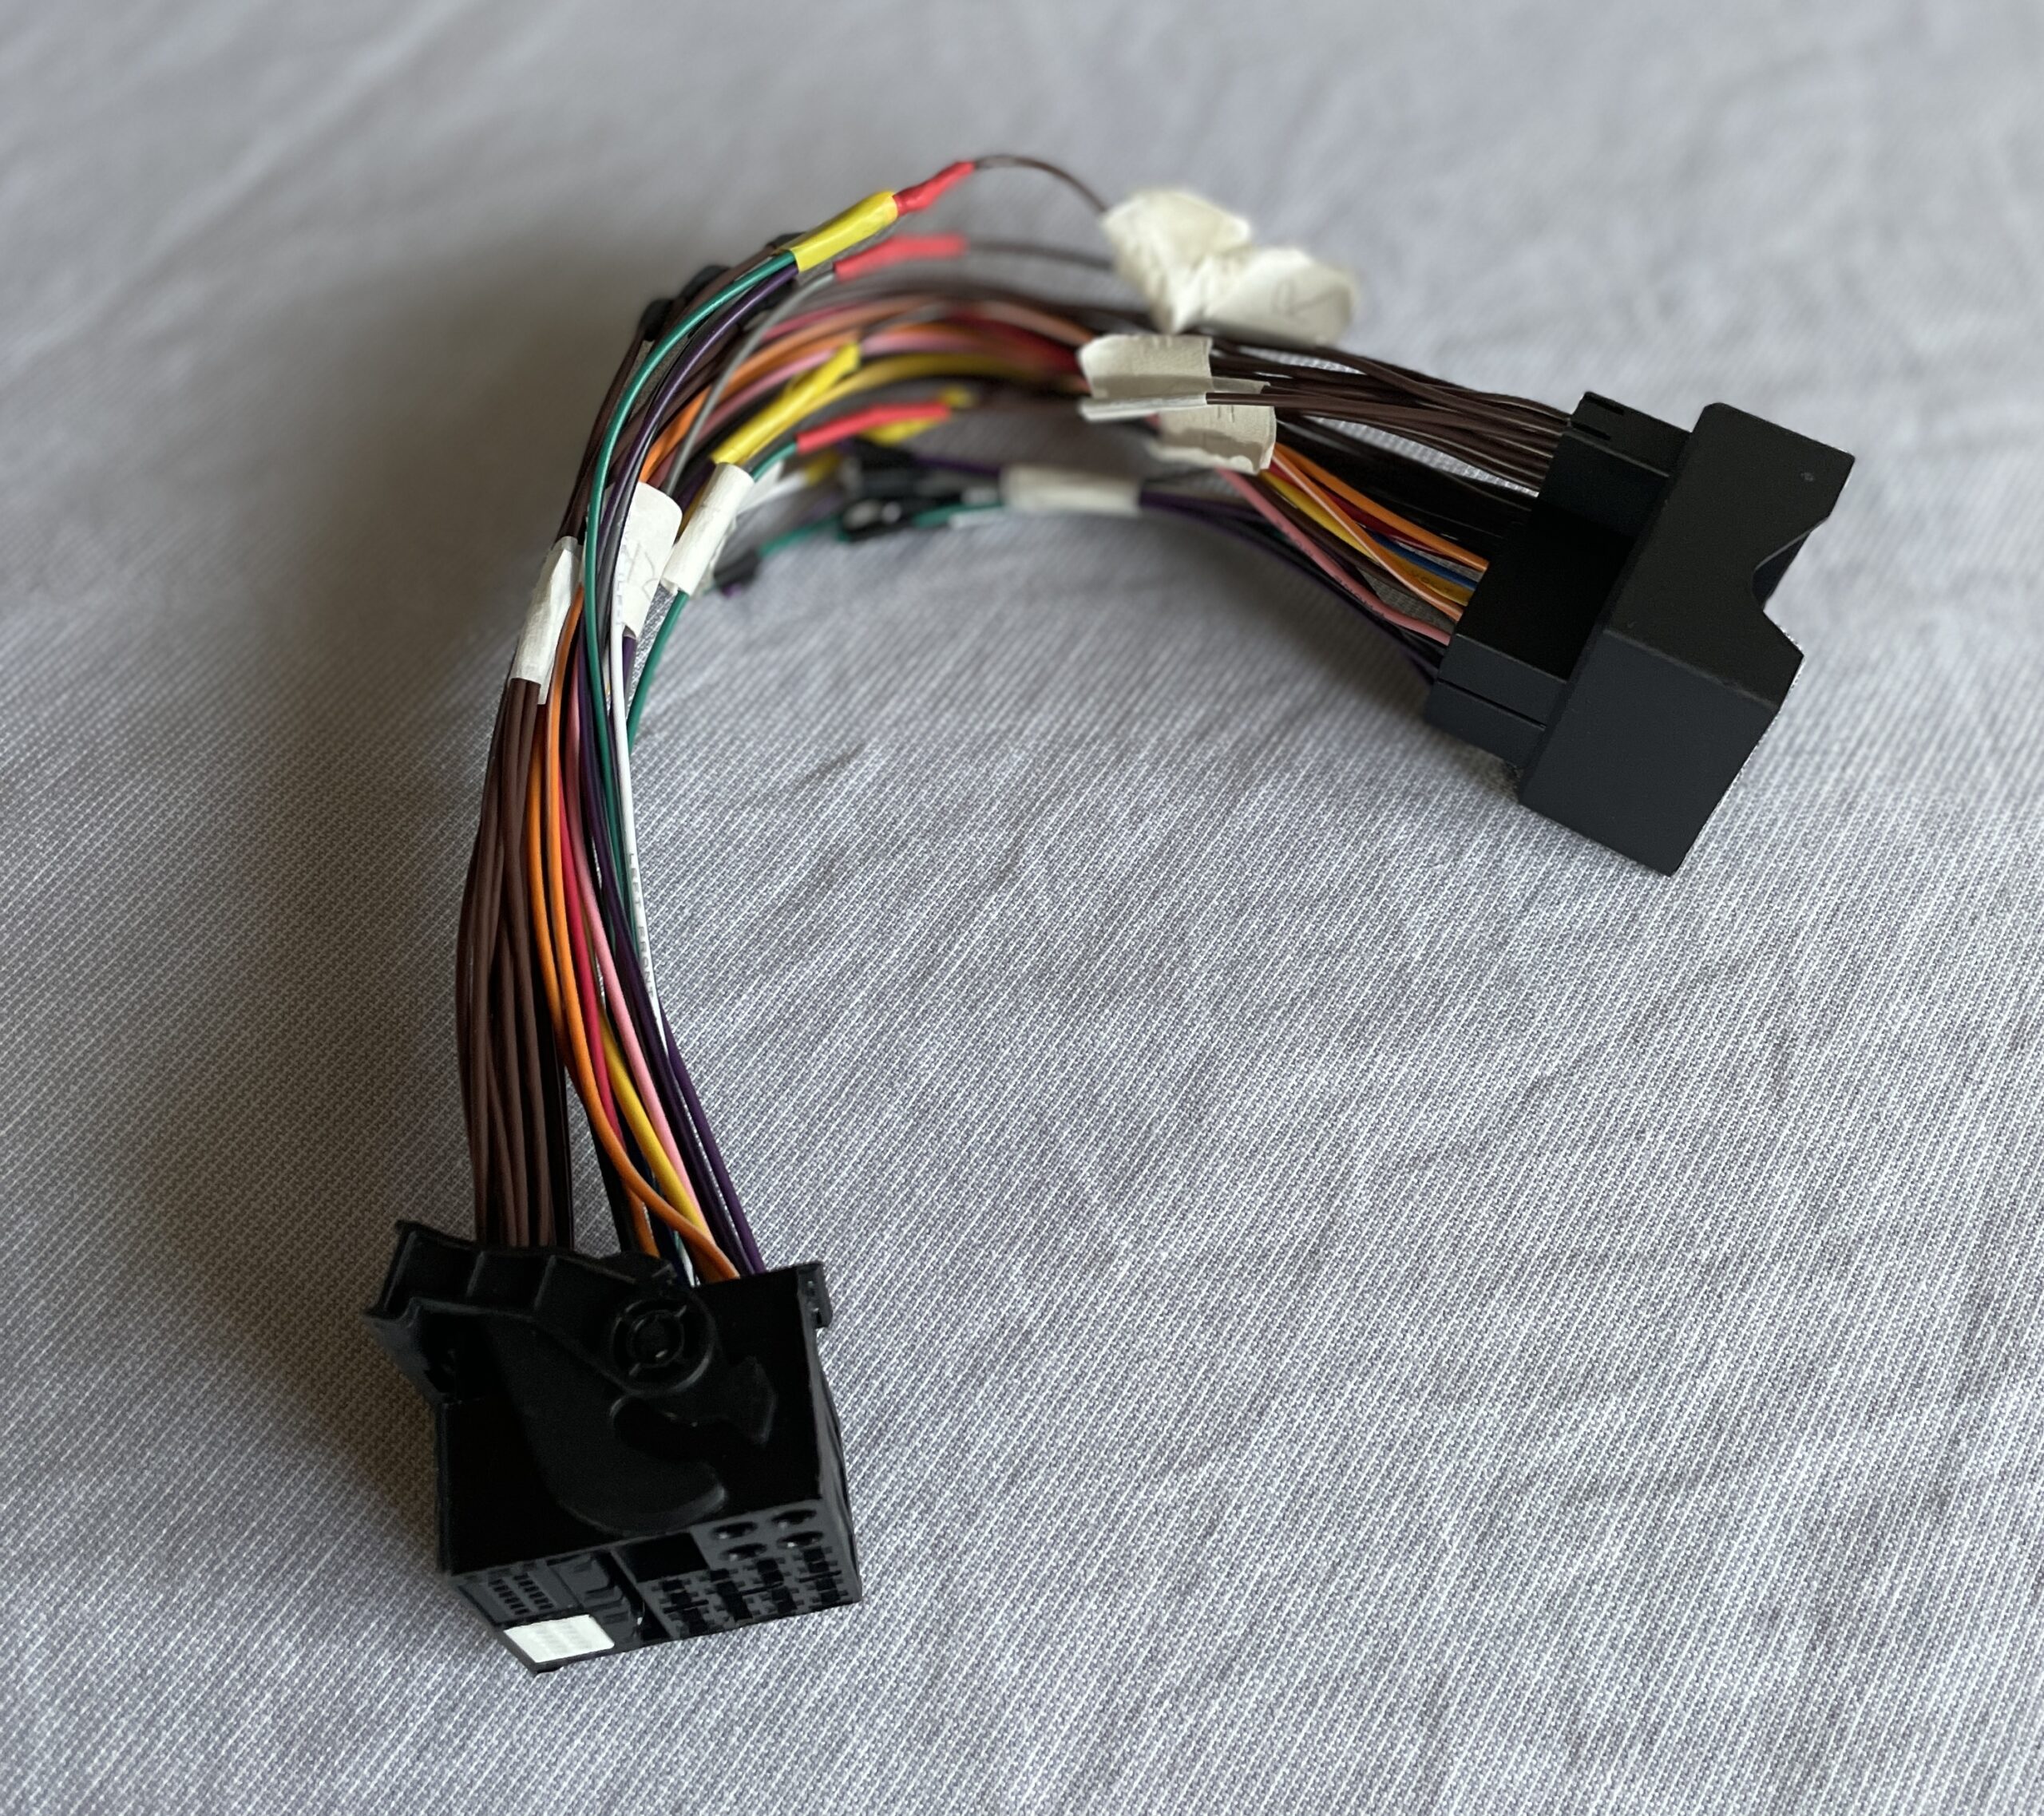
I thought artificial intelligence is truly amazing; it seems to know everything. Following the AI’s instructions, I used scissors, a soldering iron, and heat-shrink tubing, and successfully completed a perfect 40PIN Quadlock adapter.
I tried again, but still no sound. Well, I guess relying on ready-made solutions won’t work. I’ll have to test and troubleshoot it myself diligently!
What I meant was, the AI’s suggestion about the two PINs from car’s head unit have no voltage output signal. It’s really frustrating! I wish it had just said it didn’t know instead of confidently giving misleading advice. Now, I feel like there’s a whole herd of alpacas running around in my mind.
I thought trusting myself would be more reliable. Since I couldn’t find the audio line output from the RCD 330 head unit, could it be that this head unit reuses power output? I tried connecting the head unit’s power amplifier output to the line input of the Quadlock block C, as that seemed more logically possible. I also modified the head unit’s ECU coding (allowing a choice between line output or speaker output). However, even after restarting and powering up, there was still no sound.
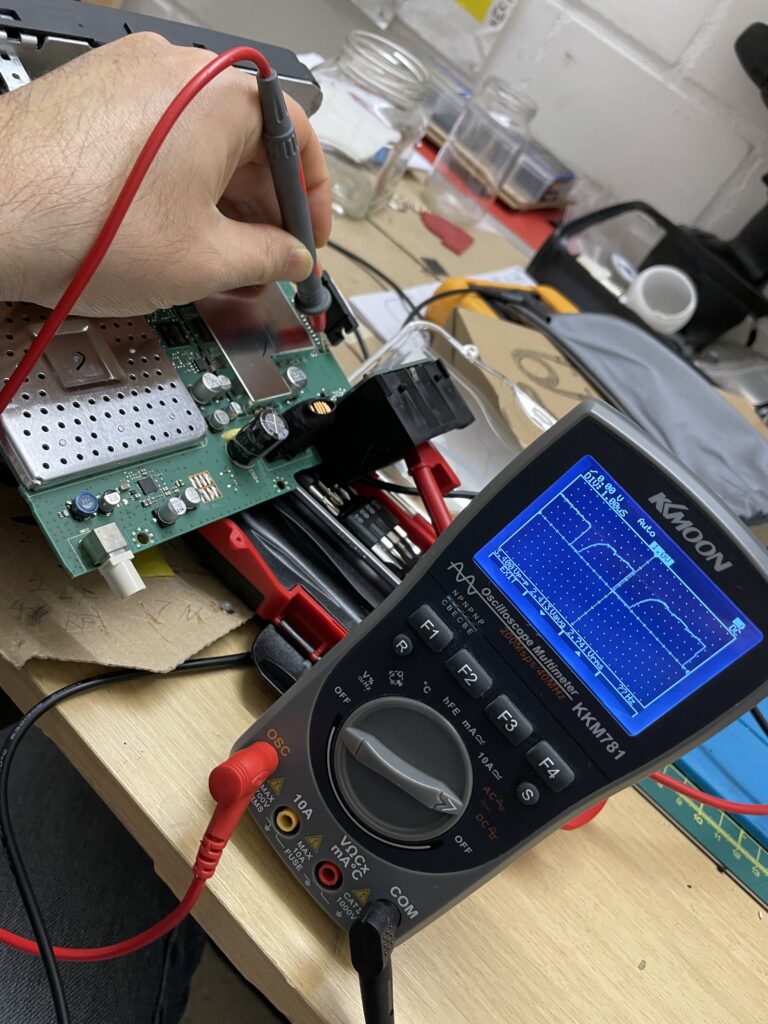
Upon closer examination of the TT Quadlock connector’s wiring label, I noticed that PIN 13 was marked as ‘DSP EIN.’ Could it require providing a high-level signal to the amplifier? The corresponding pin on the RCD 330 was empty. So, I directly applied a high-level signal to it, and when I powered it up again…
✌️ Yeah!
Due to past experiences of damaging the battery while replacing the head unit, I decided to conduct a parasitic draw test. After testing overnight, it failed because the current consumption was too high when the ignition was off. Upon careful consideration, I realized that the issue might have been caused by the high-level signal I applied to the DSP EIN pin. This signal should only be high when the head unit is turned on and low at other times; otherwise, the amplifier would continue to draw power.
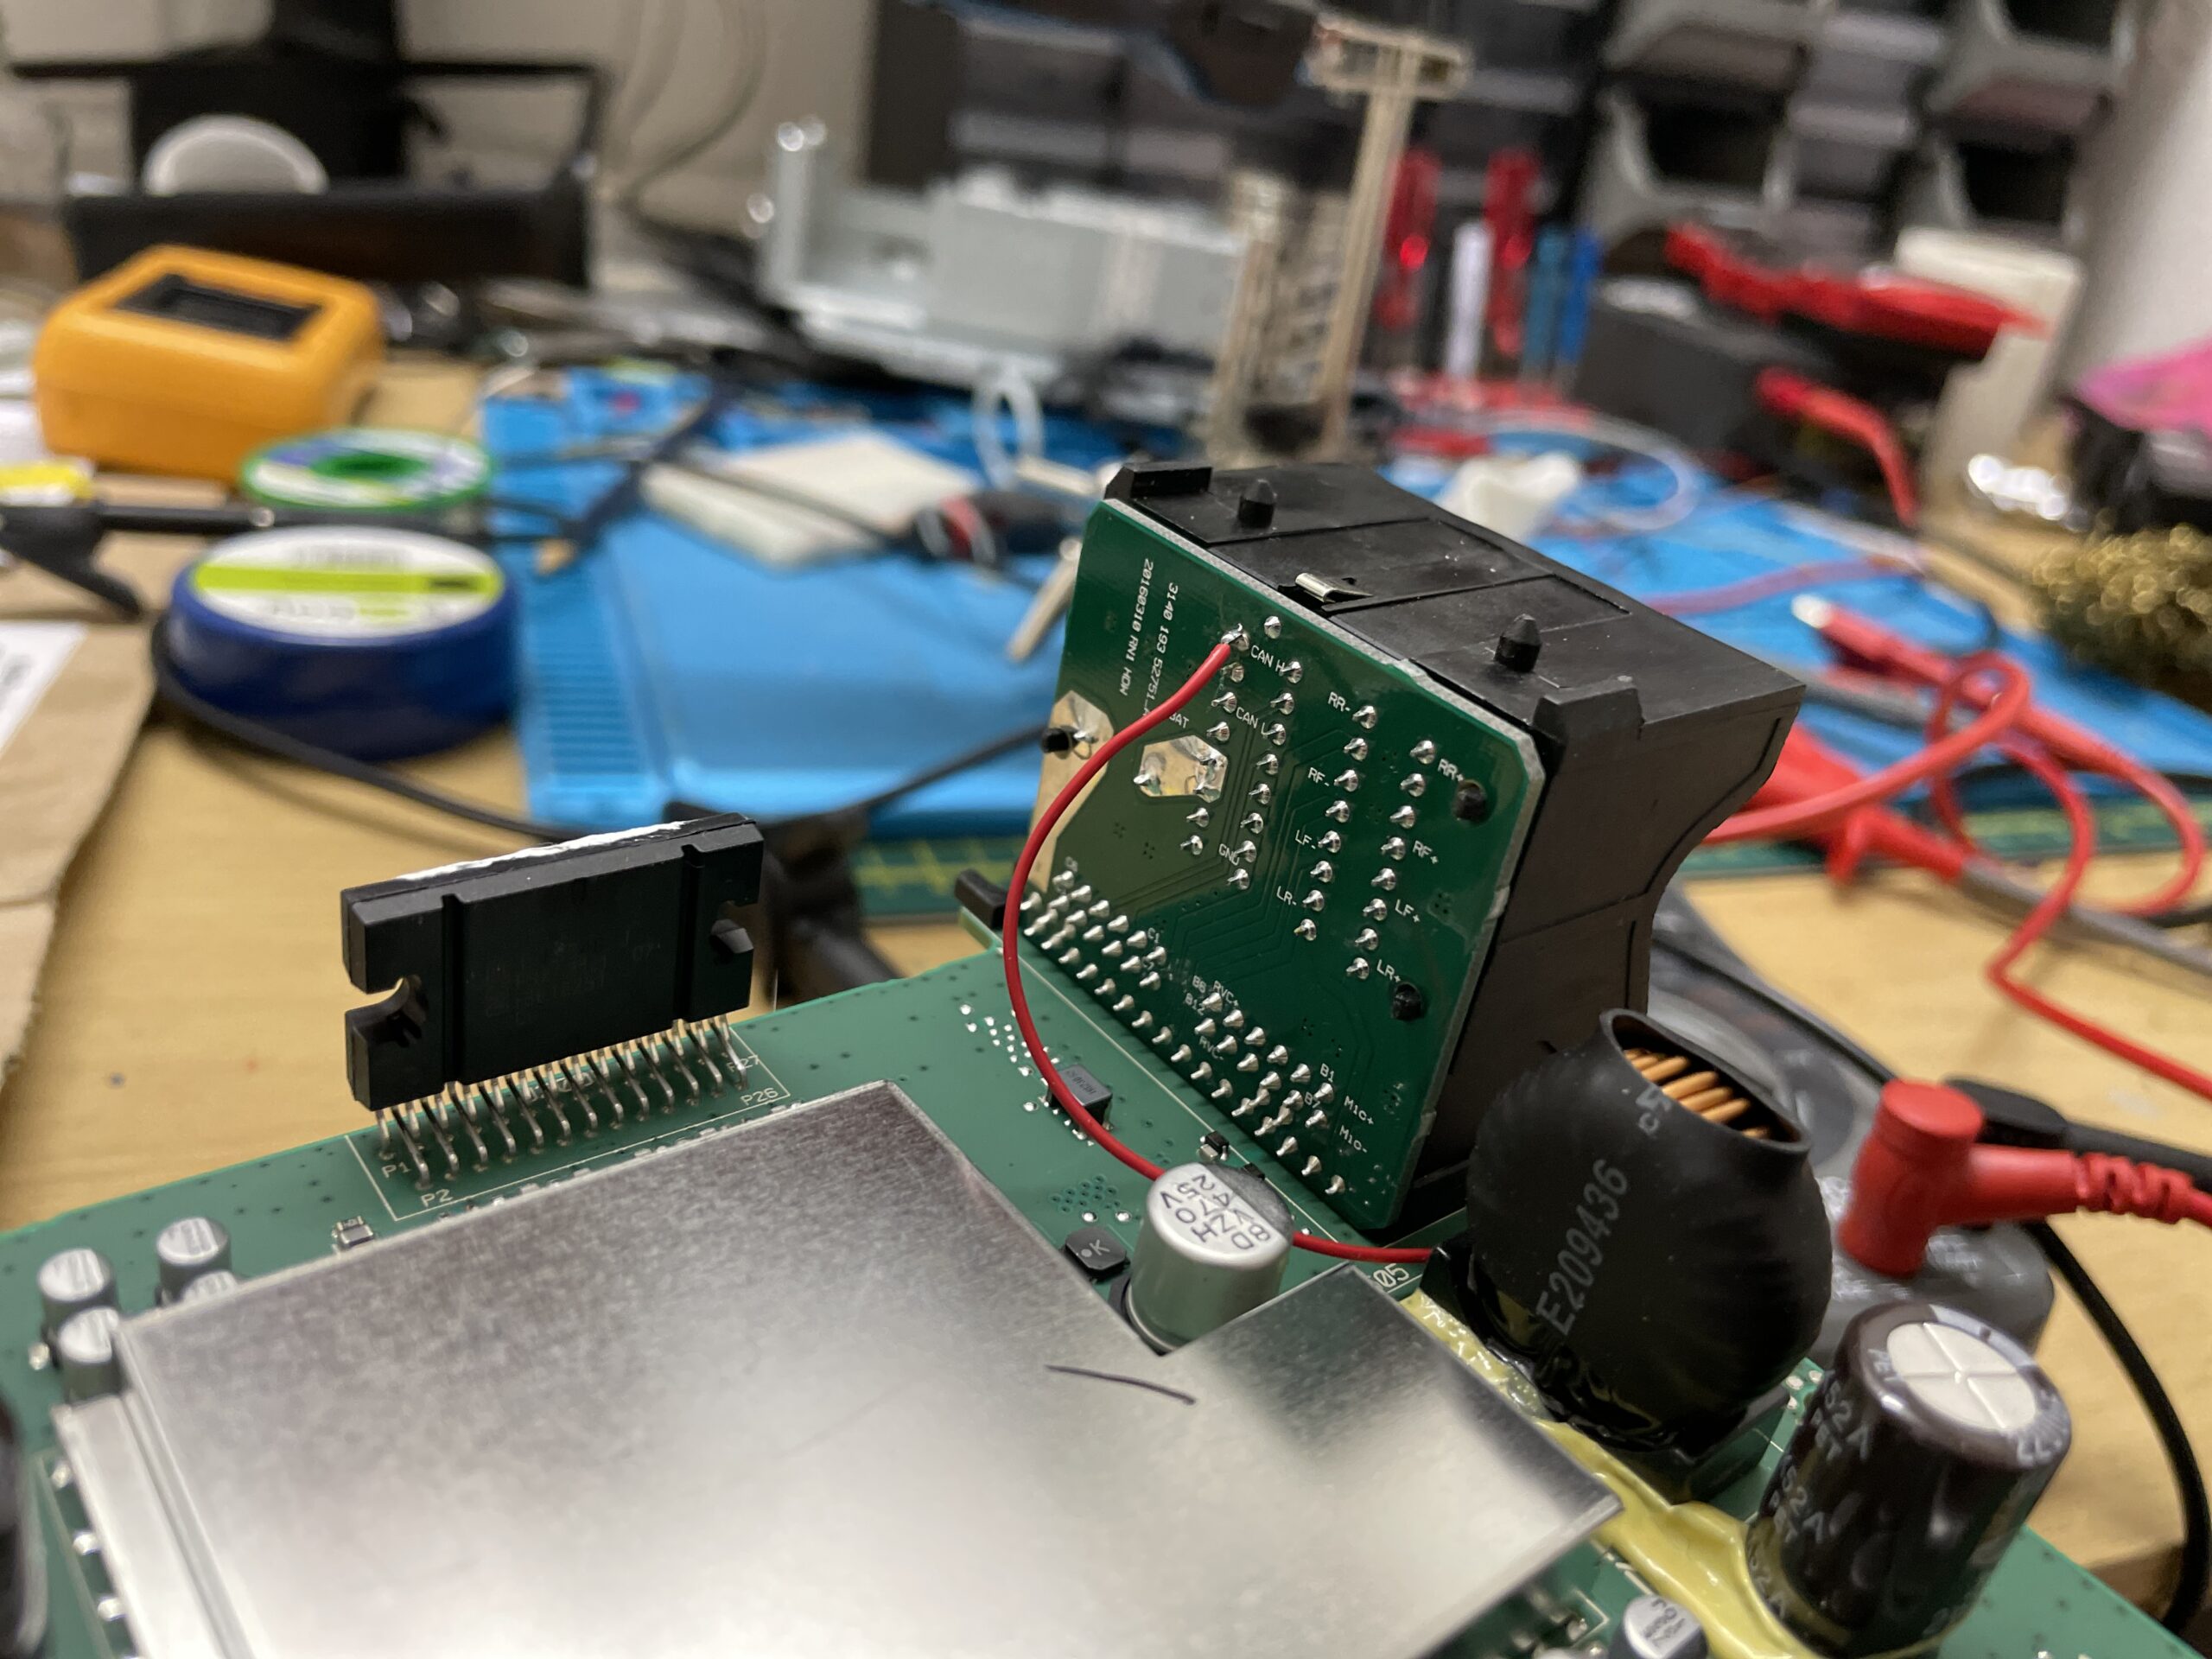
With no other options, I had to disassemble the head unit and search for a suitable point to tap into…
Using the “flying wire” technique! This way, the onboard amplifier will only be activated and powered by the high-level signal when the head unit is turned on.
After a 24-hour parasitic draw test, Alles gut! (Everything’s good!)
The next step is to work on the installation aesthetics. Time to bring out the power saw! Here, I’ll spare you the details of all the rough operations involved…
After all this tinkering, it took me nearly half a month! If only I had known it would be this much work…
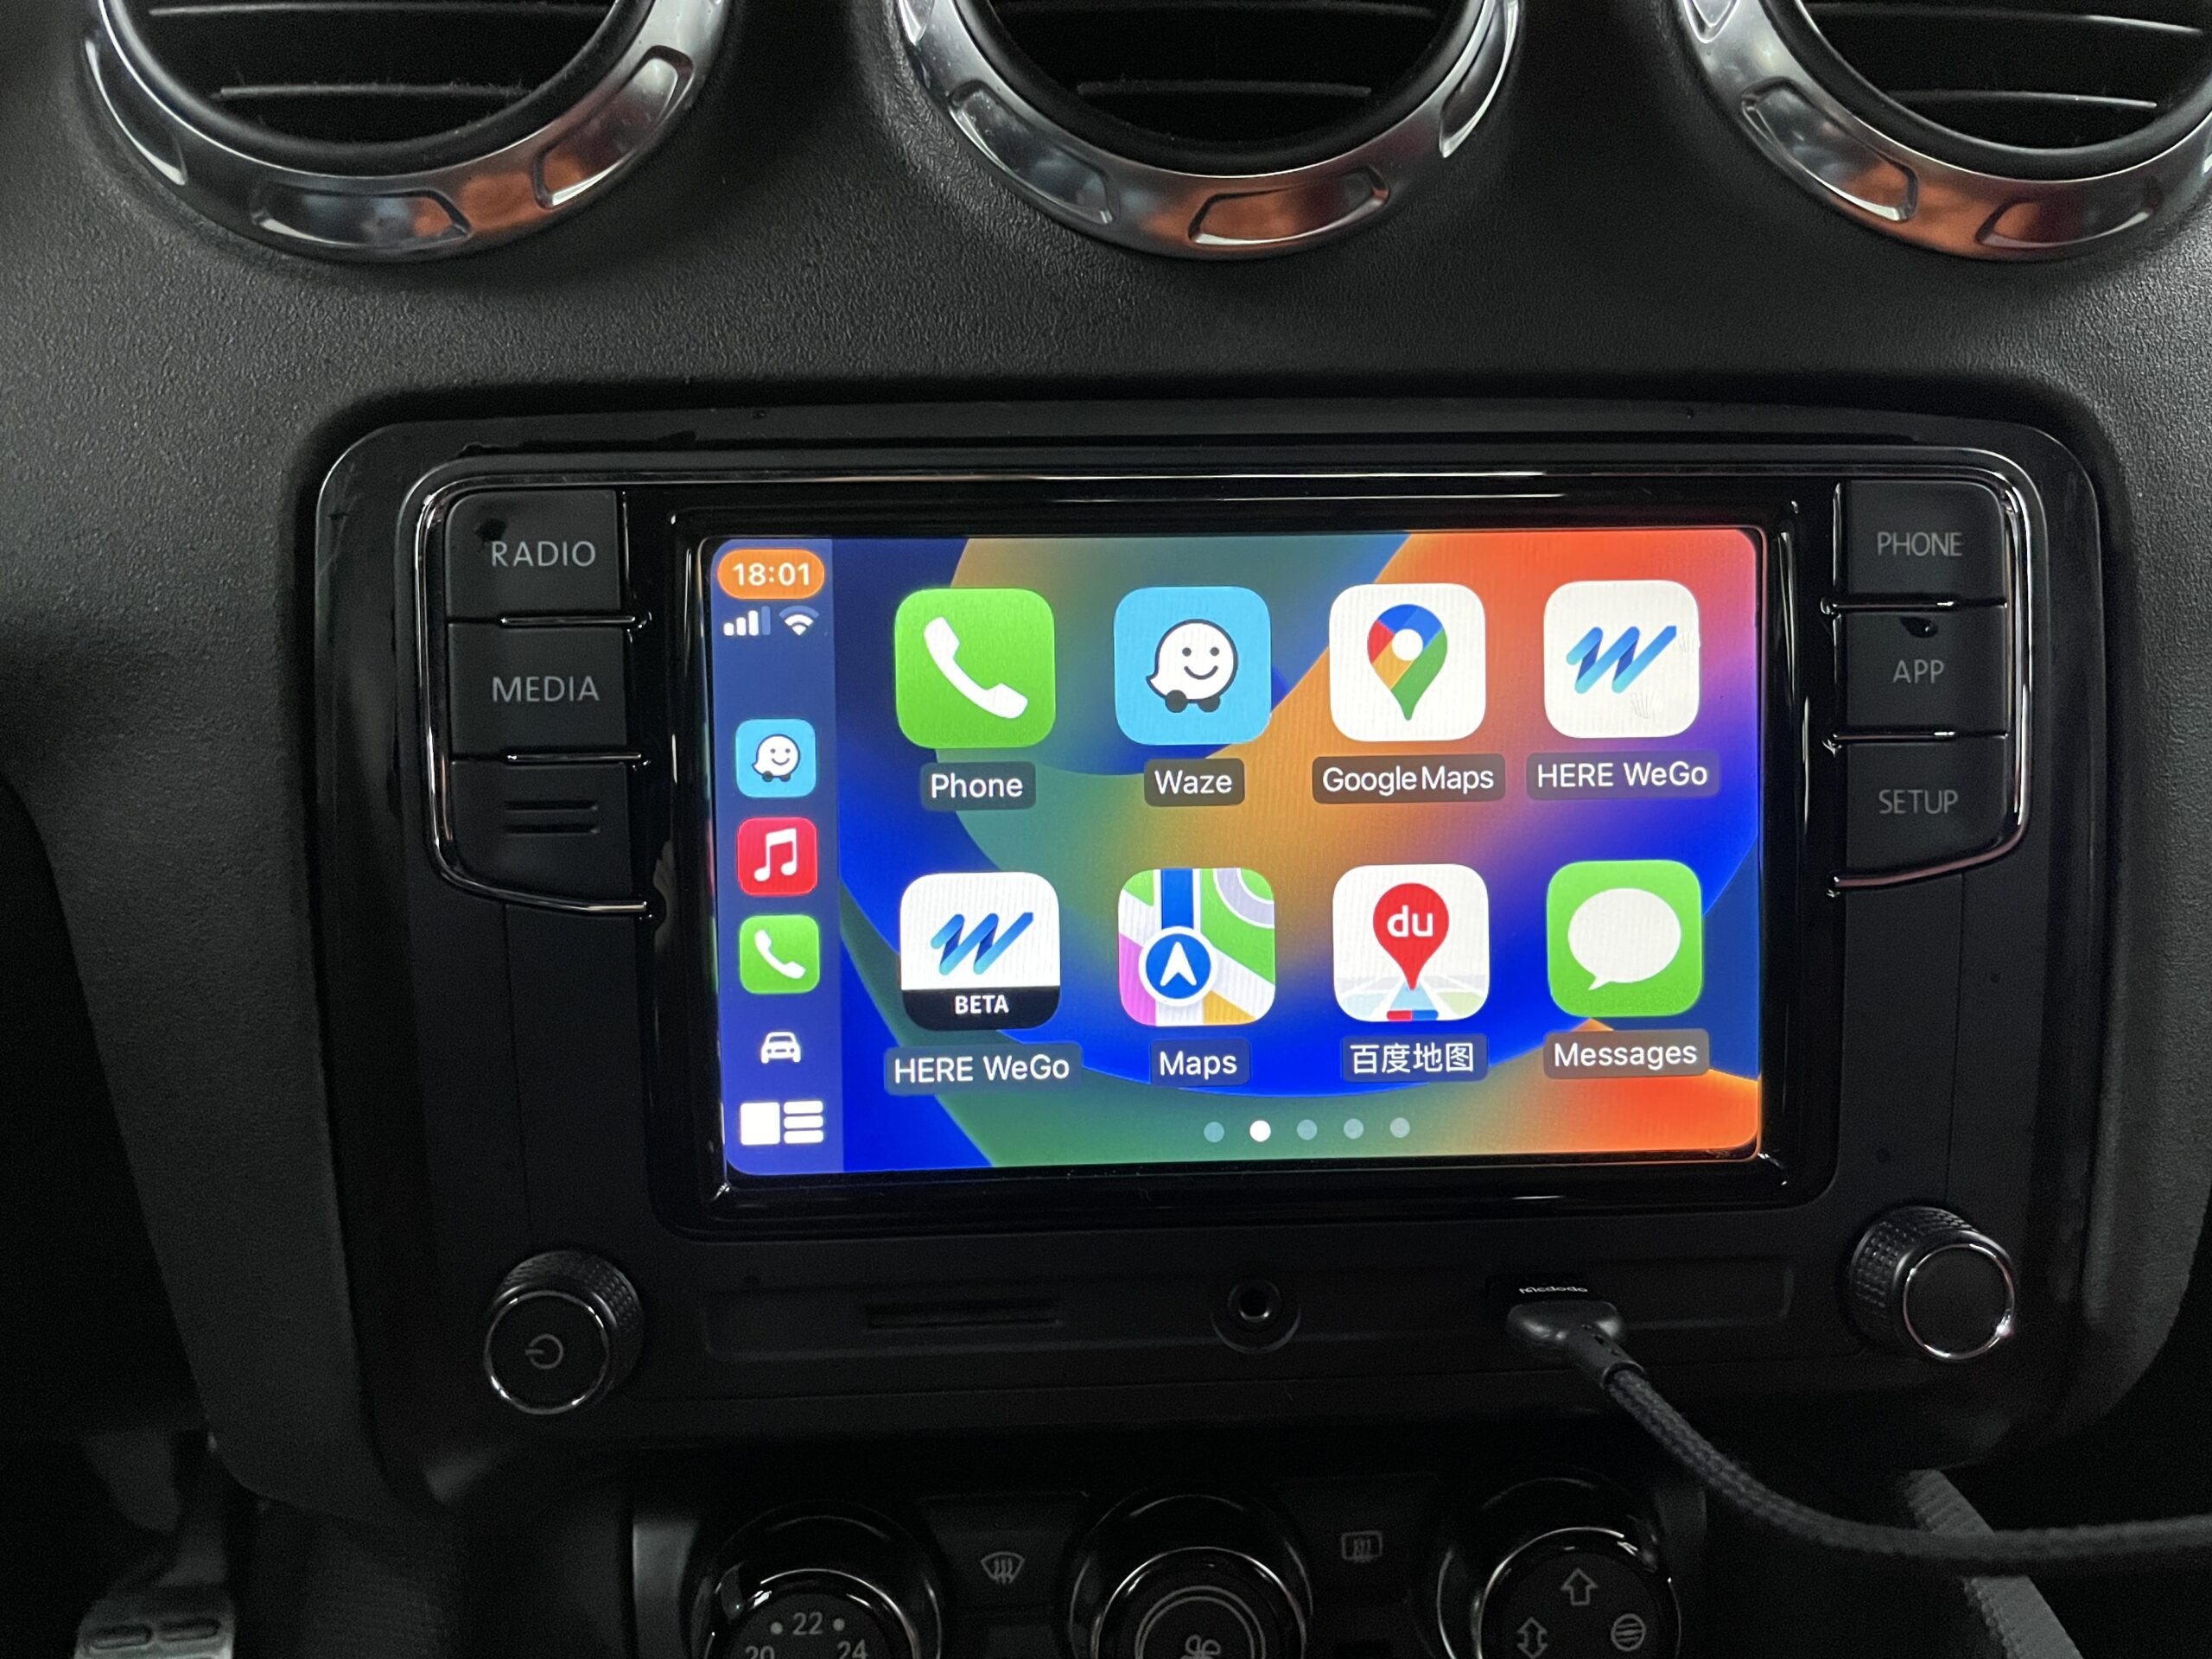
Now let’s bomb the street with music!